Dynamic NFTs are NFTs whose metadata evolves over time. They are commonly used in:
- Gaming projects where in-game assets evolve as players progress.
- Loyalty programs where NFTs evolve as users accumulate points.
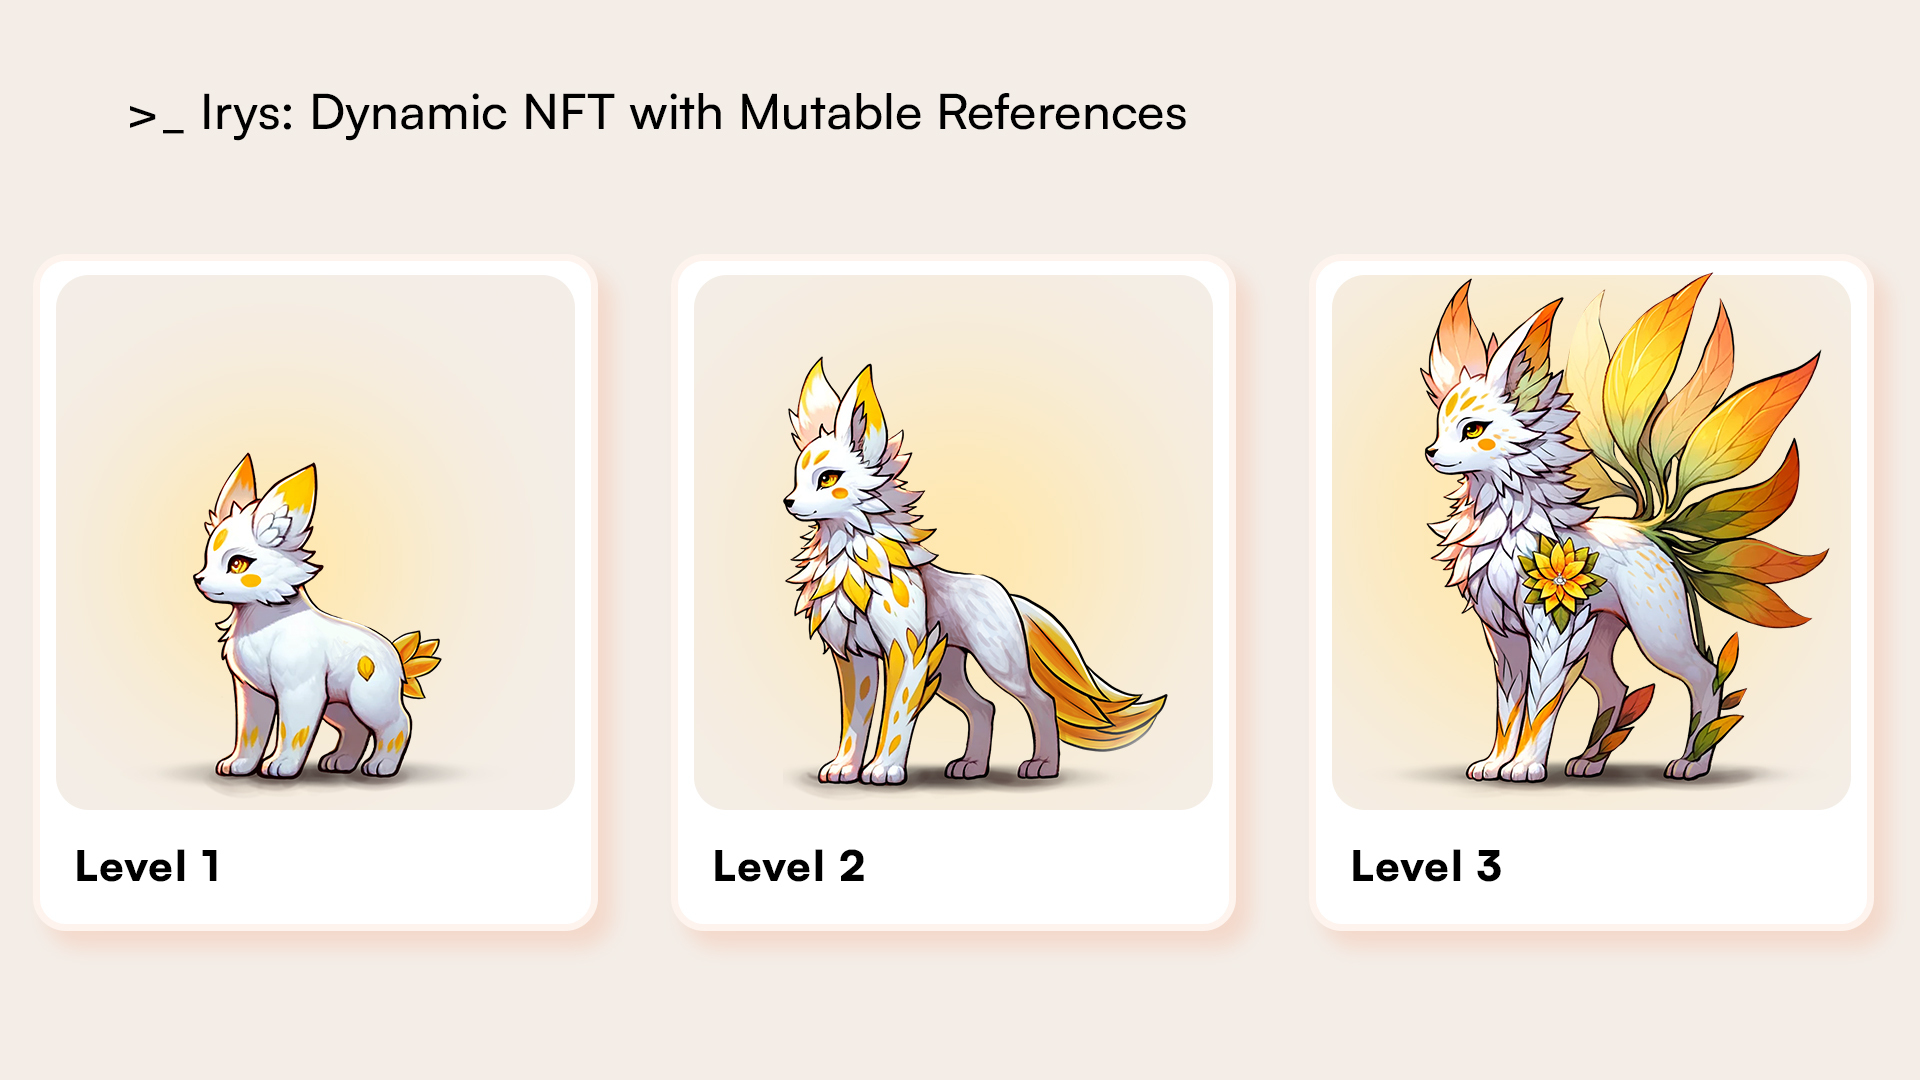
In this guide, you'll create a SuperMon NFT that evolves during gameplay. The NFT starts with a basic appearance and can be "upgraded" twice. You will use the Irys Storage CLI to update the metadata, simulating the automatic changes that would occur through player interactions in an actual game.
Mutable references are a way to simulate "mutability".
- You start uploading a single transaction. This becomes the head of your transaction chain:
Use a token-specific version of getIrysUploader() to connect to an Irys Bundler before uploading. Choose one from here.
const irys = await getIrysUploader();
const receiptOne = await irys.upload("First TX");
console.log(`TX 1 uploaded https://gateway.irys.xyz/mutable/${receiptOne.id}`);
- The chain can be updated at any time, and the original URL will always resolve to the most recent one. To "update" the chain, post a new transaction tagged with the transaction ID of the root transaction.
const tags = [{ name: "Root-TX", value: receiptOne.id }];
const receiptTwo = await irys.upload("Second TX", { tags: tags });
console.log(`TX 2 uploaded https://gateway.irys.xyz/mutable/${receiptOne.id}`);
When building a transaction chain, additions must be made using the same wallet that created the original transaction. This prevents unauthorized actors from maliciously modifying someone else’s transaction chain.
In this guide, you will build on the Base L2. Before starting, make sure you add Base Sepolia to your EVM wallet, pre-load some Base Sepolia tokens, and export your private key.
While this guide uses Base Sepolia, the principles outlined can be adapted for deployment on any blockchain.
You're building an NFT, which means you need a smart contract. Here's a simple one you can use to mint the NFT you'll create.
// SPDX-License-Identifier: MIT
pragma solidity ^0.8.0;

// Import OpenZeppelin's ERC721 and ERC721URIStorage contracts
// These URLs are compatible with Remix IDE
import "@openzeppelin/contracts/token/ERC721/ERC721.sol";
import "@openzeppelin/contracts/token/ERC721/extensions/ERC721URIStorage.sol";
import "@openzeppelin/contracts/access/Ownable.sol";

contract SuperMon is ERC721URIStorage {
    uint256 private _tokenIdCounter;

    // No arguments in the constructor, the owner will be the contract deployer
    constructor() ERC721("SuperMon", "SMON") {
        _tokenIdCounter = 0;
    }

    // Mint function to create a new NFT
    function mint(address to, string memory uri) public {
        uint256 tokenId = _tokenIdCounter;
        _tokenIdCounter += 1;
        _safeMint(to, tokenId);
        _setTokenURI(tokenId, uri);
    }
}
To deploy the smart contract using Remix IDE:
-
Open Remix IDE.
-
Create a new Solidity file
- In the
File Explorerspane, click on theCreate New Fileicon. - Name your file
SuperMon.sol, and paste the smart contract in.
- Compile the contract
- Click on the
Solidity Compilericon in the sidebar. - Select the compiler version that matches your contract's pragma (
^0.8.0). - Click
Compile SuperMon.sol.
- Deploy the Contract
- Click on the
Deploy & Run Transactionsicon in the sidebar. - In the
ENVIRONMENTdropdown, selectInjected Web3. - MetaMask will prompt you to connect. Confirm the connection to your Remix session.
- Ensure
SuperMonis selected in theCONTRACTdropdown. - Click
Deploy. MetaMask will ask for confirmation to proceed with the transaction.
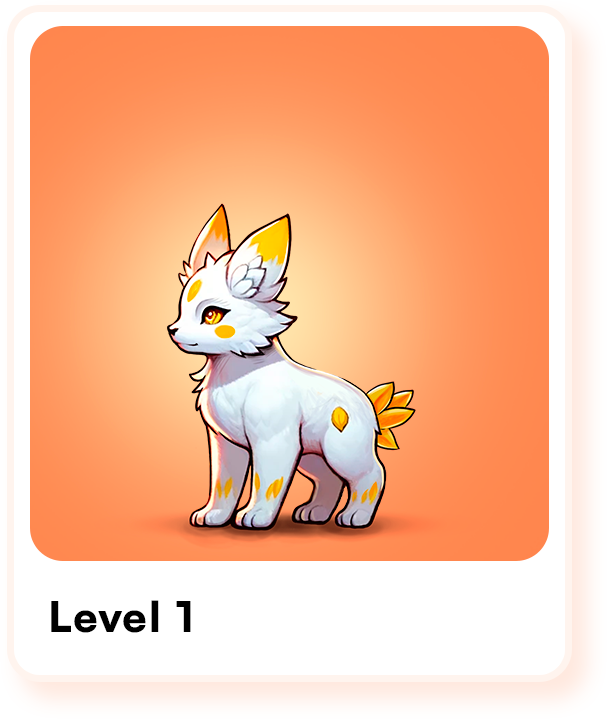
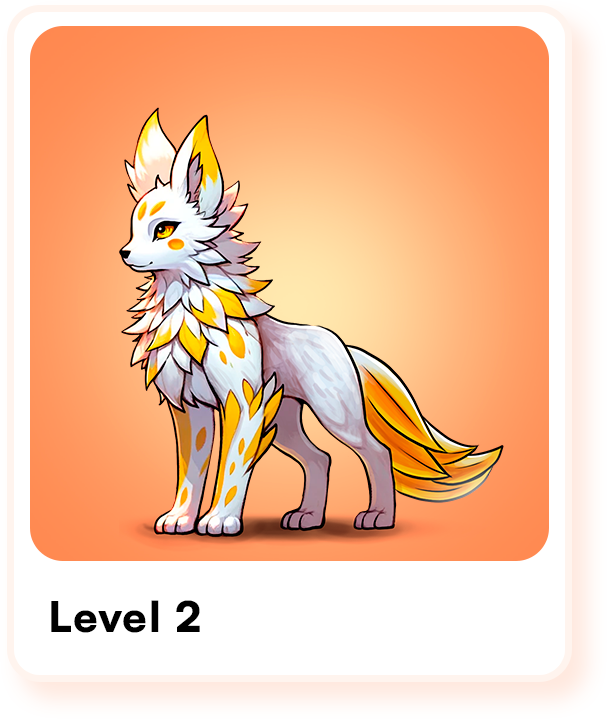
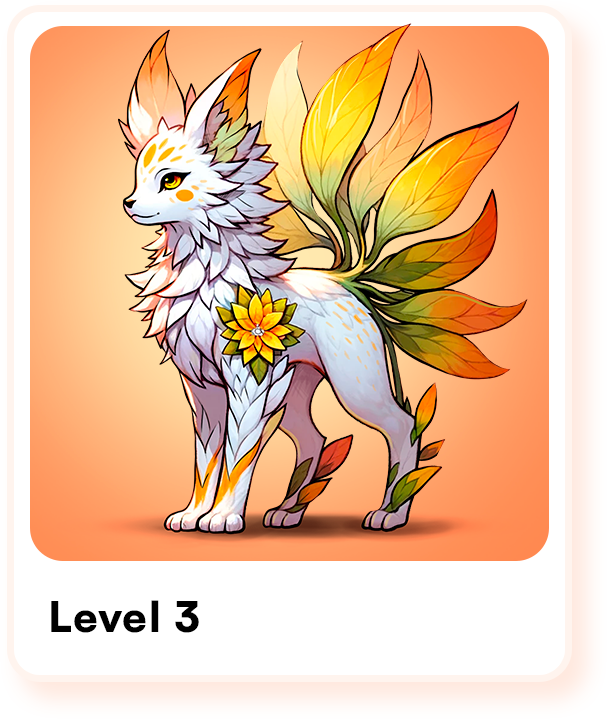
Right-click on each of the above images and save them on your local drive.
Next, fund the Irys Devnet bundler with 0.1 Sepolia ETH to pay for your uploads.
In all of these CLI examples, make sure to replace the value of the -w parameter with your own private key.
irys fund 100000000000000000 \
  -n devnet \
  -t base-eth \
  -w 6dd5e....54a120201cb6a \
  --provider-url https://sepolia.base.org
The fund command accepts a value in atomic units, 0.1 ETH is equal to 100000000000000000 in atomic units.
Next, use the Irys Storage CLI to upload each of the images to Irys.
irys upload image-level-1.png \
  -n devnet \
  -t base-eth \
  -w 6dd5e....54a120201cb6a \
  --tags Content-Type image/png \
  --provider-url https://sepolia.base.org

irys upload image-level-2.png \
  -n devnet \
  -t base-eth \
  -w 6dd5e....54a120201cb6a \
  --tags Content-Type image/png \
  --provider-url https://sepolia.base.org

irys upload image-level-3.png \
  -n devnet \
  -t base-eth \
  -w 6dd5e....54a120201cb6a \
  --tags Content-Type image/png \
  --provider-url https://sepolia.base.org
Create three metadata files similar to the ones below. Make sure to change the value of the image field to match the URLs generated in the previous step.
{
  "name": "SuperMon",
  "symbol": "SMON",
  "image": "https://gateway.irys.xyz/QH3rksVhbFg5L9vvjGzb4POUibCEG-TGPInmofp-O-o",
  "description": "Super dooper, changing shapes, changing power",
  "attributes": [
    {
      "trait_type": "supermon-level",
      "value": "1"
    }
  ]
}
{
  "name": "SuperMon",
  "symbol": "SMON",
  "image": "https://gateway.irys.xyz/QH3rksVhbFg5L9vvjGzb4POUibCEG-TGPInmofp-O-o",
  "description": "Super dooper, changing shapes, changing power",
  "attributes": [
    {
      "trait_type": "supermon-level",
      "value": "2"
    }
  ]

}
{
  "name": "SuperMon",
  "symbol": "SMON",
  "image": "https://gateway.irys.xyz/QH3rksVhbFg5L9vvjGzb4POUibCEG-TGPInmofp-O-o",
  "description": "Super dooper, changing shapes, changing power",
  "attributes": [
    {
      "trait_type": "supermon-level",
      "value": "3"
    }
  ]

}
And upload just the first file using the Irys CLI.
irys upload metadata-level-1.json \
  -n devnet \
  -t base-eth \
  -w 6dd5e....54a120201cb6a \
  --tags Content-Type application/json \
  --provider-url https://sepolia.base.org
The CLI will return a URL similar to https://gateway.irys.xyz/NDtKvjlmZL2iXUPmX6P-BuvtnvAEFkUiQWG8ToyK5FM. To convert that to a mutable references URL, interpolate it by adding /mutable/ after the domain and before the transaction ID.
Your final URL will be similar to https://gateway.irys.xyz/mutable/NDtKvjlmZL2iXUPmX6P-BuvtnvAEFkUiQWG8ToyK5FM.
To mint your NFT in Remix:
- Return to Remix.
- Under "Deployed Contracts", locate your contract and expand it to see its functions.
- Under the
Mintfunction, enter the wallet address you want to mint the NFT to and the metadata URL (e.g.https://gateway.irys.xyz/mutable/NDtKvjlmZL2iXUPmX6P-BuvtnvAEFkUiQWG8ToyK5FM) from the previous step. - Click Transact.
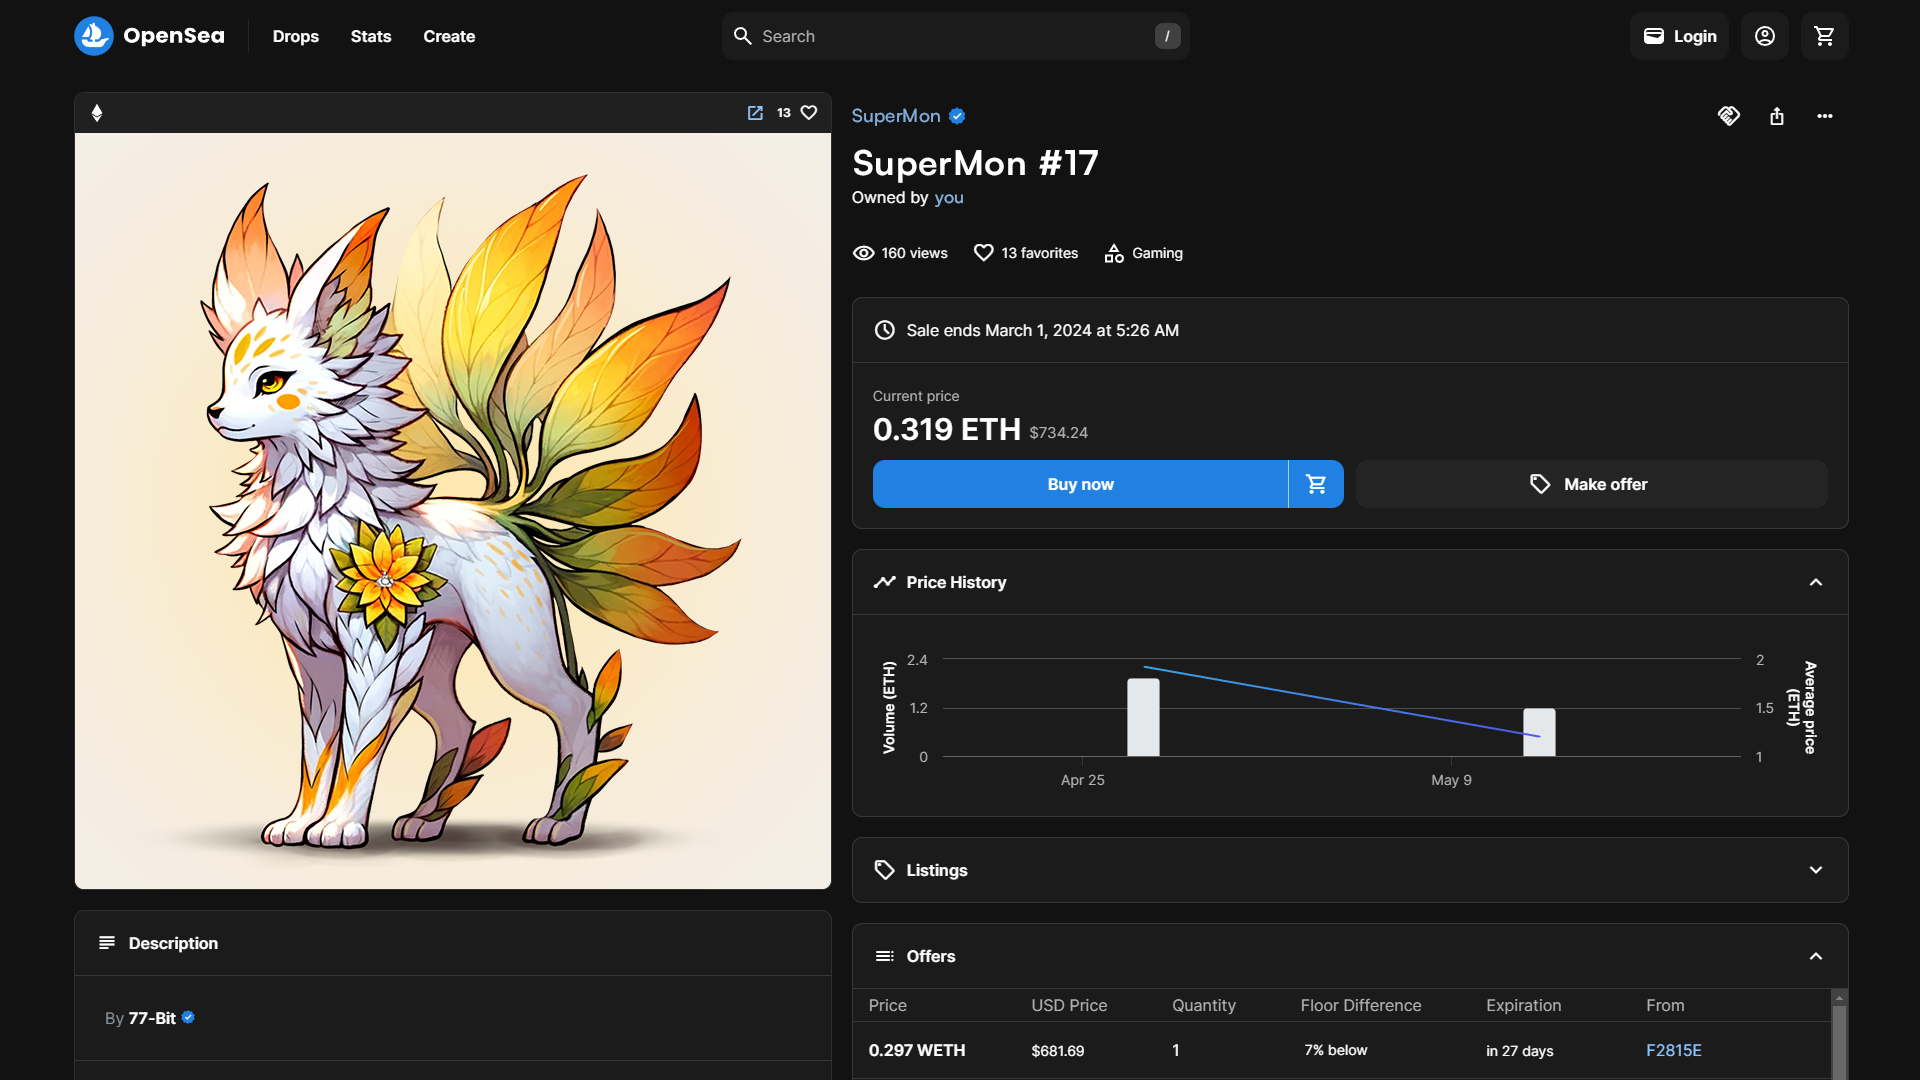
You can now view the NFT on the Opensea Testnet.
To now "mutate" the NFT, upload a new version of the metadata tagging it as having a Root-TX equal to the transaction ID of your first transaction. In my example, I pass the value of NDtKvjlmZL2iXUPmX6P-BuvtnvAEFkUiQWG8ToyK5FM, however make sure to change this to match your unique transaction ID.
irys upload metadata-level-2.json \
  -n devnet \
  -t base-eth \
  -w 6dd5e....54a120201cb6a \
  --tags Content-Type application/json Root-TX NDtKvjlmZL2iXUPmX6P-BuvtnvAEFkUiQWG8ToyK5FM \
  --provider-url https://sepolia.base.org
Return to Opensea and request that it refresh your metadata.
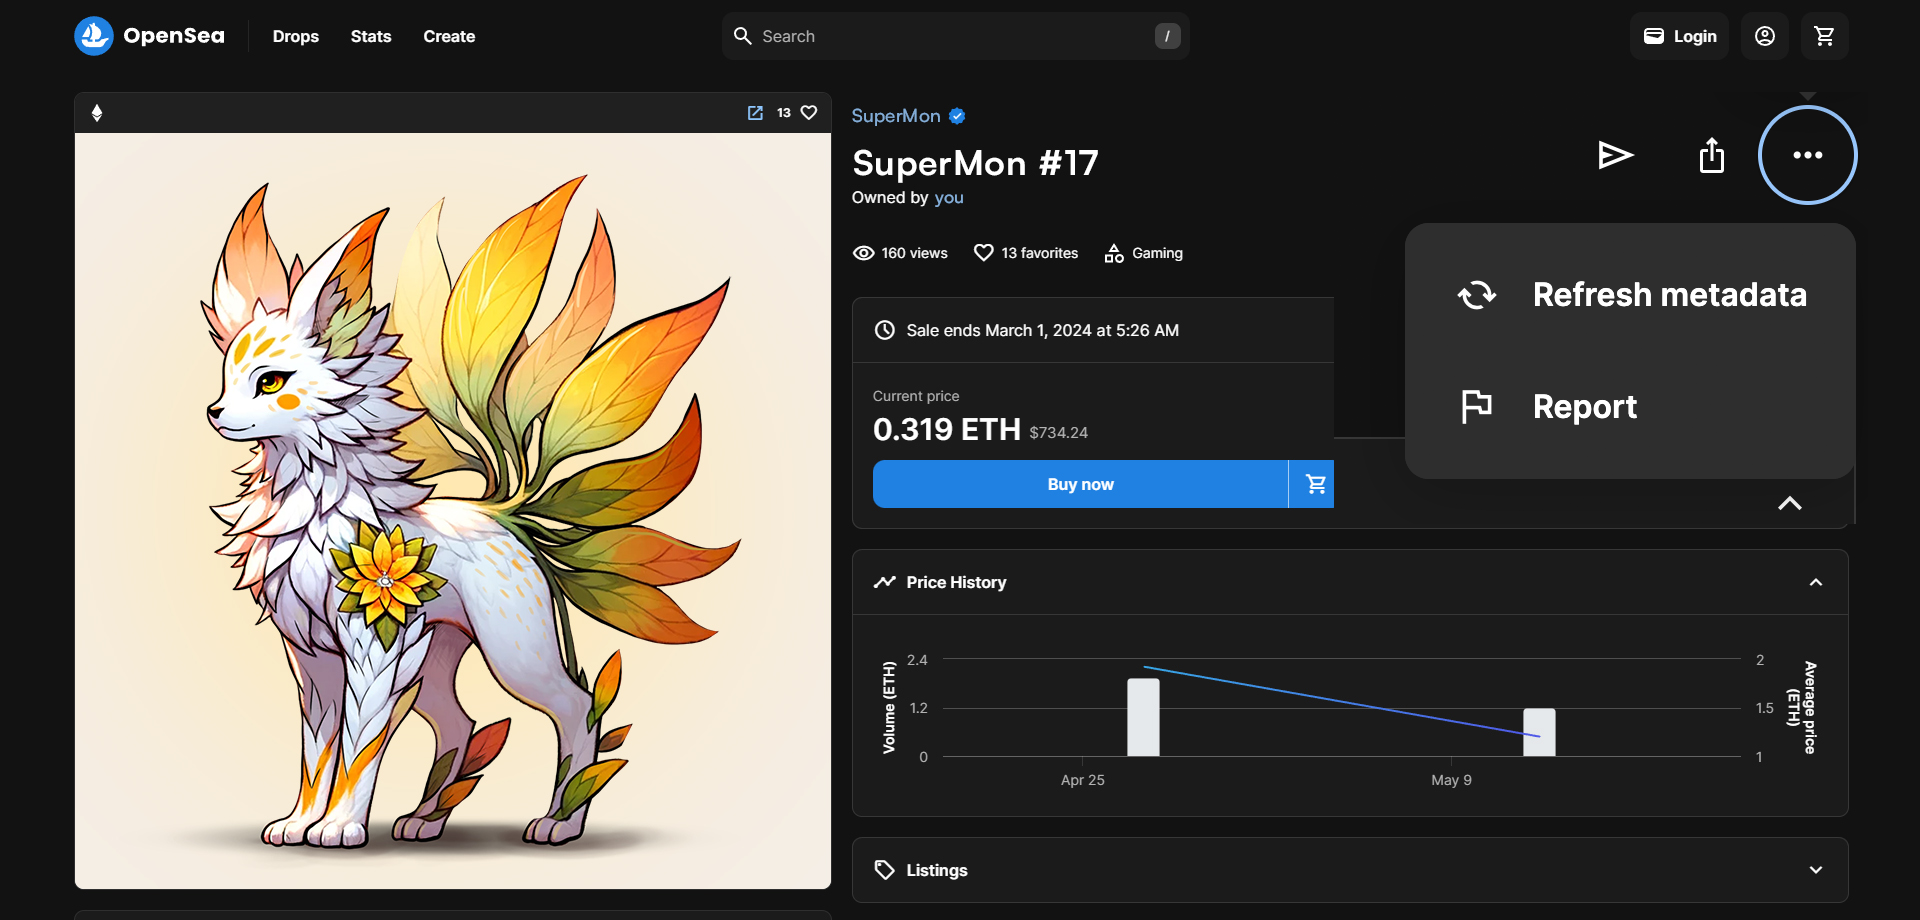
Give it a few minutes and your updated NFT should be visible.
On Irys uploads of less than 100 KiB are free, which is more than enough for most metadata files. This means projects can let users "evolve" their NFTs without having to pay gas fees.
Wallets and NFT platforms typically cache metadata to optimize performance, this can affect the visibility of updates to dynamic NFTs. While OpenSea offers a feature for users to manually request metadata refreshes, not all platforms provide this level of control. When building dynamic NFT projects, make sure to thoroughly test and understand the implications of caching on your platform.
Any questions? Reach out to us in Discord.